Complete Onboarding Guide
Step-by-step guide to setting up your Guidroo account and organization for the first time.
Complete Onboarding Guide
This comprehensive guide will walk you through every step of setting up your Guidroo account, from initial signup to teaching your first class.
Table of Contents
- Initial Account Setup
- Profile Configuration
- Organization Creation
- Team Invitations
- First Course Setup
- Payment Configuration
- Testing Your Setup
Initial Account Setup
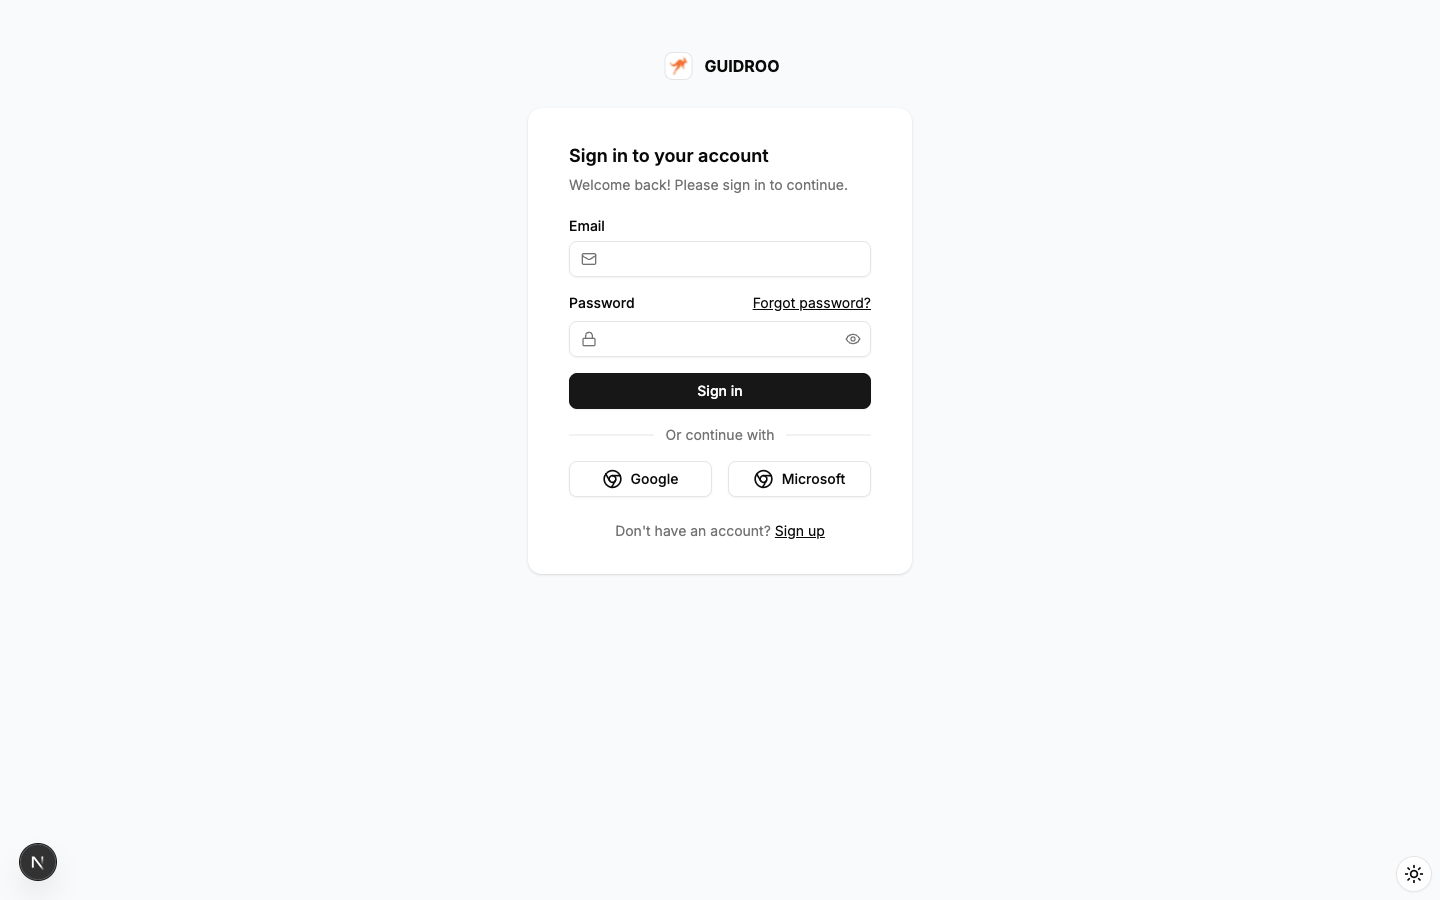
Step 1: Create Your Account
- Visit Guidroo.com and click "Get Started"
- Enter your details:
- Full name
- Email address
- Secure password (minimum 8 characters)
- Verify your email by clicking the link in your inbox
- Complete security setup (two-factor authentication recommended)
📸 Screenshot
Step 2: Choose Your Plan
Select the plan that best fits your needs:
Free Plan - $0.00 / month:
- Up to 5 students
- Live 1-on-1 Tutoring
- Homework & Assignments
- Progress Tracking
- Basic scheduling
- 1-hour session limit
Pro Plan - $199.00 / month (14 days free trial):
- Up to 60 students
- Live 1-on-1 Tutoring
- Group Classes
- Homework & Assignments
- Progress Tracking
- Advanced Analytics
- Recorded Sessions
- Multiple Organizations
- 3-hour session duration
- 1 TB storage space
- Priority support
Business Plan - $299.00 / month (14 days free trial):
- Up to 100 students
- Live 1-on-1 Tutoring
- Group Classes
- Recorded Sessions
- Homework & Assignments
- Progress Tracking
- Advanced Analytics
- Multiple Organizations
- API Access (upcoming)
- Dedicated Support
- Bulk Enrollment
- 3-hour session duration
- 5 TB storage space
- Custom integrations
📸 Screenshot

Profile Configuration
Step 1: Personal Information
Complete your profile with:
- Profile Photo: Upload a professional headshot
- Display Name: How students will see your name
- Bio: Brief description of your teaching experience
- Location: Your city and country
- Time Zone: For accurate scheduling
📸 Screenshot
Step 2: Teaching Preferences
Set up your teaching preferences:
- Subjects: What you teach (Math, Science, Languages, etc.)
- Grade Levels: Age groups you work with
- Teaching Style: Your approach to instruction
- Availability: When you're available to teach
- Language: Your primary teaching language
📸 Screenshot

Step 3: Professional Information
Add your professional credentials:
- Education: Degrees and certifications
- Experience: Years of teaching experience
- Specializations: Areas of expertise
- Awards: Recognition and achievements
- References: Professional references (optional)
📸 Screenshot
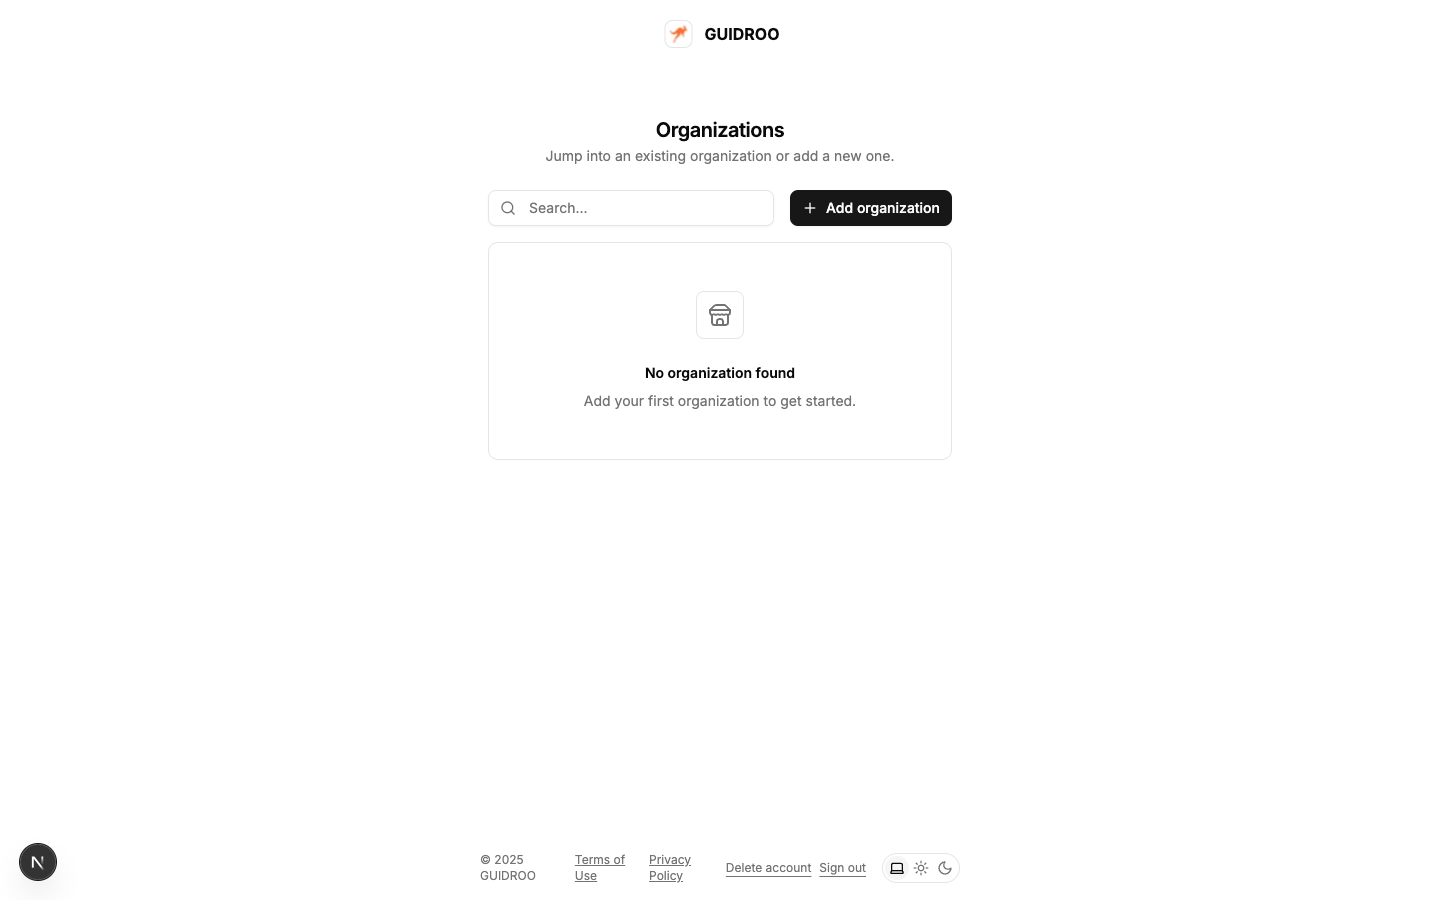
Organization Creation
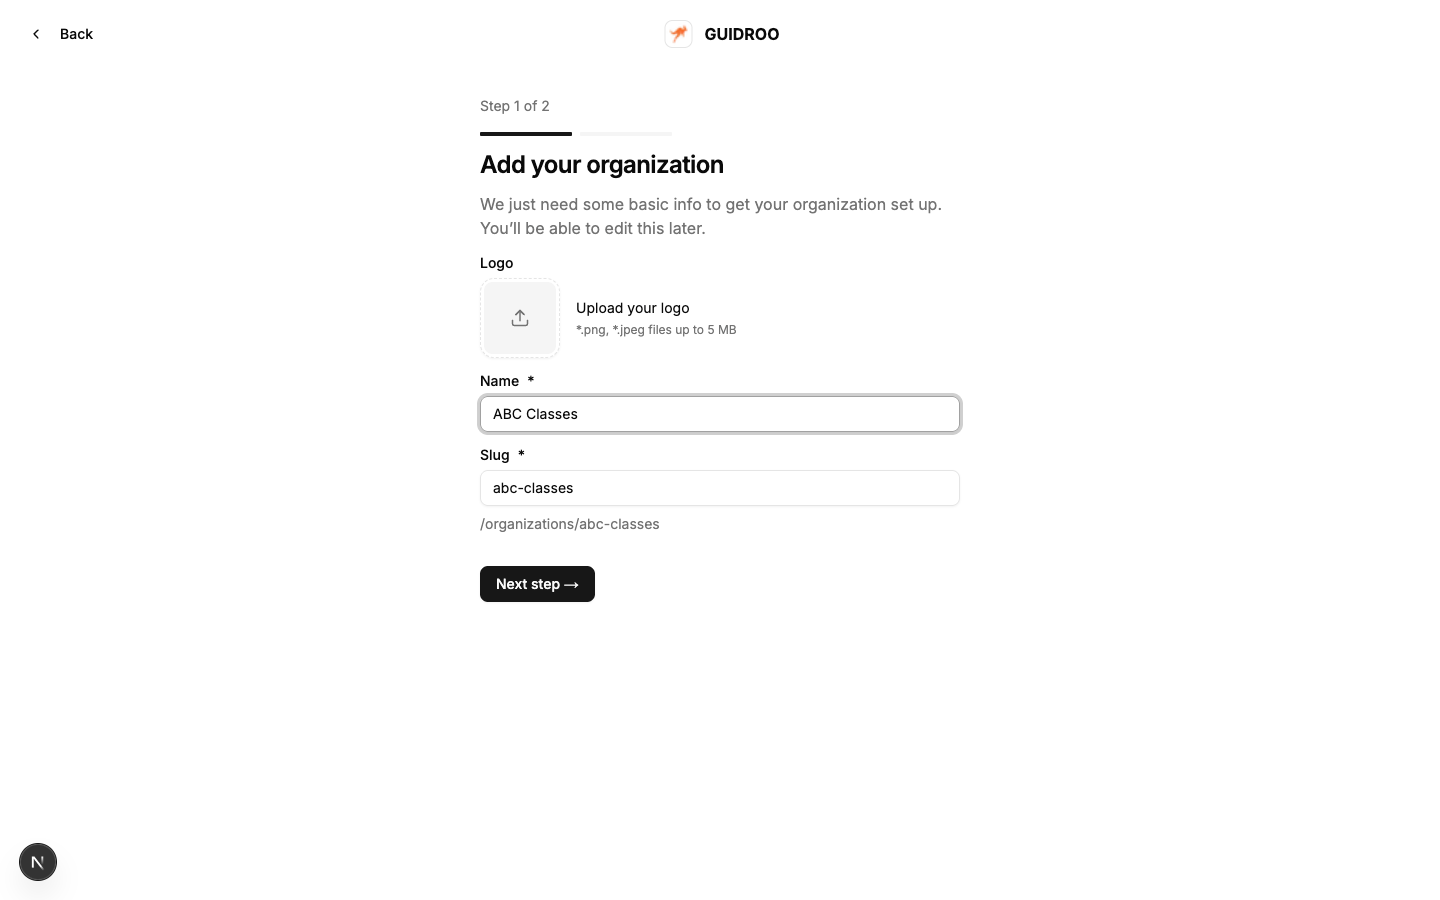
Step 1: Organization Details
Create your teaching organization:
- Organization Name: Your school, tutoring center, or brand name
- Description: What your organization offers
- Website: Your organization's website URL
- Logo: Upload your organization's logo
- Tagline: Brief description of your mission
📸 Screenshot
Step 2: Business Information
Provide your business details:
- Business Type: Individual, company, or non-profit
- Tax ID: Your business tax identification number
- Address: Your business address
- Phone: Contact number for students and parents
- Business Hours: When you're available for support
📸 Screenshot
Step 3: Organization Settings
Configure your organization settings:
- Default Currency: Your preferred payment currency
- Time Zone: Your organization's time zone
- Language: Primary language for your organization
- Privacy Settings: How much information to share publicly
- Notification Preferences: How you want to be notified
📸 Screenshot
Team Invitations
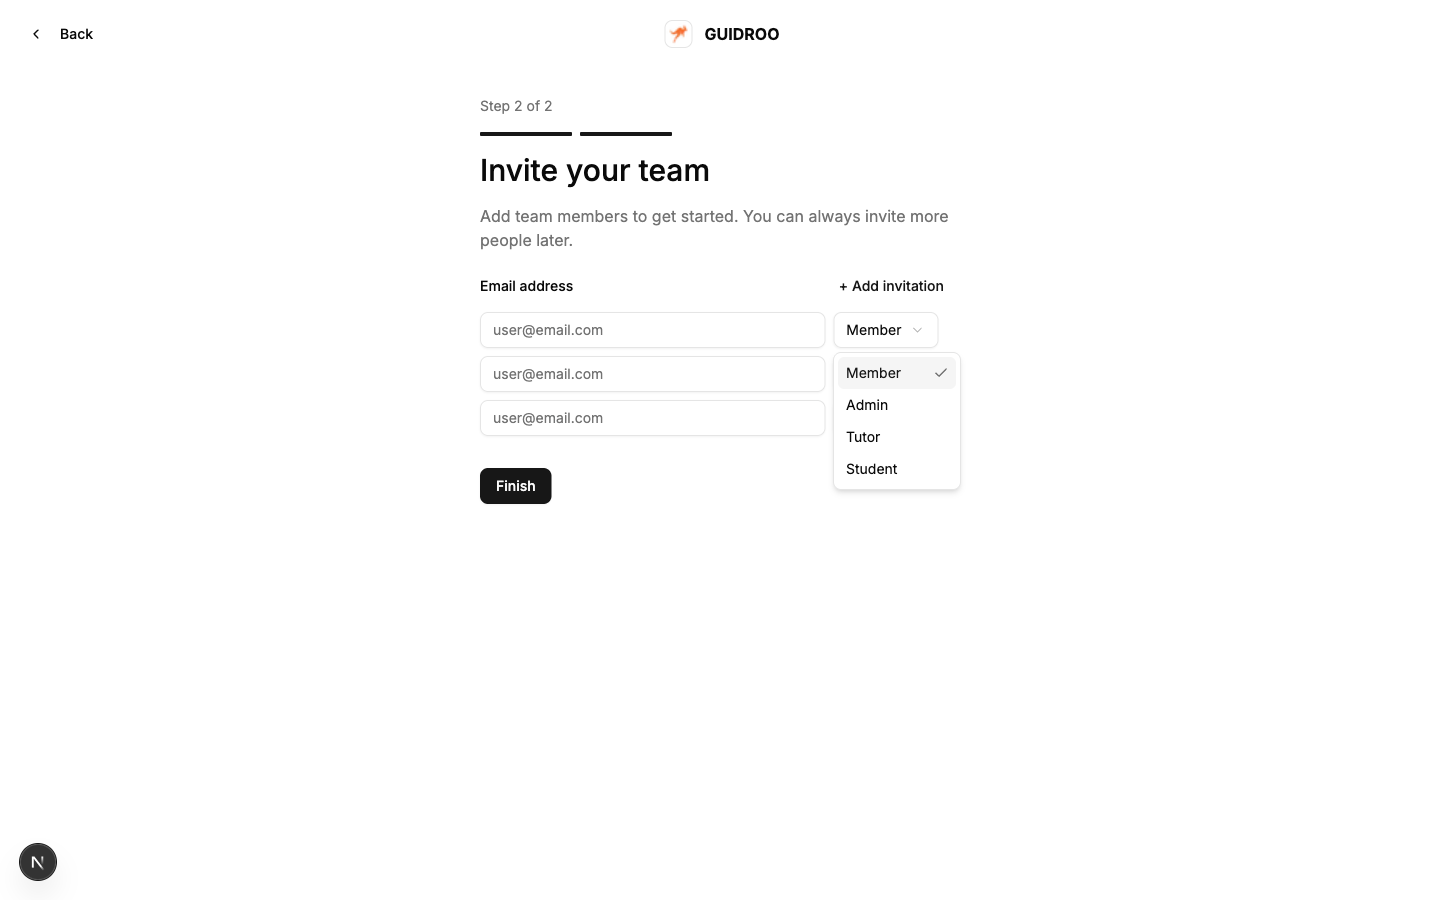
Step 1: Invite Team Members
Add team members to your organization:
- Go to Settings → Team Members
- Click "Invite Member"
- Enter email address of the person you want to invite
- Select their role:
- Admin: Full access to all features
- Tutor: Can create and manage courses
- Member: Basic access to view content
- Add personal message (optional)
- Send invitation
📸 Screenshot
Step 2: Role Management
Understand and manage team roles:
Administrator Permissions:
- Create and manage all courses
- Invite and manage team members
- Access billing and payment settings
- Manage organization settings
- View all analytics and reports
Tutor Permissions:
- Create and manage their own courses
- Schedule and conduct live sessions
- View student progress and attendance
- Access teaching materials and resources
- Communicate with students
Member Permissions:
- View assigned courses and content
- Access shared resources and materials
- Participate in team discussions
- View basic organization information
📸 Screenshot

Step 3: Pending Invitations
Manage pending invitations:
- View Status: See who has been invited and their status
- Resend Invitations: Send reminders to pending members
- Cancel Invitations: Remove invitations if needed
- Track Responses: Monitor who has accepted or declined
📸 Screenshot

First Course Setup
Step 1: Create Your First Batch
A "Batch" is a course or class that students can enroll in:
- Navigate to Batches in your dashboard
- Click "Create New Batch"
- Fill in course details:
- Course Name: e.g., "Advanced Mathematics - Grade 10"
- Subject: Select from available subjects
- Description: What students will learn in this course
- Start Date: When the course begins
- End Date: When the course ends
- Max Students: Maximum number of students allowed
📸 Screenshot

Step 2: Course Configuration
Configure your course settings:
- Pricing: Set course price or make it free
- Payment Required: Whether payment is mandatory
- Prerequisites: Any requirements for enrollment
- Materials: What students need to bring
- Assessment: How students will be evaluated
📸 Screenshot

Step 3: Assign Instructors
Select who will teach this course:
- Primary Instructor: Main teacher for the course
- Co-instructors: Additional teachers who can help
- Teaching Assistants: Support staff for the course
- Guest Instructors: Special guest teachers
📸 Screenshot

Payment Configuration
Step 1: Set Up Payment Processing
Configure how you'll receive payments:
- Go to Settings → Payments
- Click "Set Up Payments"
- Choose payment method:
- Stripe: Credit card processing
- PayPal: PayPal integration
- Bank Transfer: Direct bank transfers
- Complete verification process
📸 Screenshot

Step 2: Configure Billing
Set up your billing preferences:
- Billing Cycle: Monthly or annual billing
- Payment Terms: When payments are due
- Late Fees: Penalties for late payments
- Refund Policy: Your refund terms
- Tax Settings: Tax collection preferences
📸 Screenshot

Step 3: Test Payments
Test your payment setup:
- Create a test course with a small fee
- Enroll as a test student using a different email
- Complete the payment process
- Verify payment is received
- Test refund process if applicable
📸 Screenshot

Testing Your Setup
Step 1: Create a Test Session
Before teaching real students, create a test session:
- Go to your batch and click "Add Session"
- Create a test session with a future date
- Add test content and materials
- Invite a colleague or friend to join
- Test all features before going live
📸 Screenshot

Step 2: Test Video and Audio
Ensure your equipment works properly:
- Test your camera and microphone
- Check internet connection speed and stability
- Test screen sharing functionality
- Verify recording capabilities
- Test on different devices (computer, tablet, phone)
📸 Screenshot

Step 3: Practice Session
Conduct a practice session:
- Start a test session with a colleague
- Practice all features:
- Screen sharing
- Whiteboard usage
- Chat functionality
- Recording features
- Test student perspective by joining as a student
- Review session recording to check quality
📸 Screenshot

Next Steps After Onboarding
Explore Advanced Features
Once basic setup is complete:
- Content Library: Organize your teaching materials
- Student Analytics: Track progress and engagement
- Automated Scheduling: Set up recurring sessions
- Mobile App: Download the Guidroo mobile app
- Integrations: Connect with other tools you use
Join the Community
Connect with other educators:
- Community Forum: Ask questions and share experiences
- Webinars: Attend training sessions and workshops
- Best Practices: Learn from successful educators
- Feature Requests: Suggest improvements to the platform
Get Support
Access help when you need it:
- Help Center: Comprehensive documentation
- Video Tutorials: Step-by-step guides
- Live Chat: Real-time support during business hours
- Email Support: Detailed help via email
- Phone Support: Direct phone support for Pro and Business plans
Troubleshooting Common Issues
Account Setup Issues
Email Verification Problems:
- Check spam folder for verification email
- Try resending verification email
- Contact support if email doesn't arrive
Profile Upload Issues:
- Ensure image is under 5MB
- Use supported formats (JPG, PNG, GIF)
- Try a different browser if upload fails
Organization Setup Issues
Logo Upload Problems:
- Use high-resolution images
- Ensure logo is square or rectangular
- Try different image formats
Team Invitation Issues:
- Verify email addresses are correct
- Check spam folders for invitation emails
- Resend invitations if needed
Course Setup Issues
Session Scheduling Problems:
- Ensure dates are in the future
- Check time zone settings
- Verify instructor availability
Payment Setup Issues:
- Complete all required verification steps
- Check bank account information
- Contact payment provider support
Success Tips
Best Practices for New Users
- Start Small: Begin with a simple course before complex setups
- Test Everything: Always test features before using with students
- Get Feedback: Ask colleagues to review your setup
- Stay Updated: Check for platform updates and new features
- Join Community: Connect with other users for tips and support
Common Mistakes to Avoid
- Skipping Testing: Always test before going live
- Poor Planning: Plan your courses and sessions in advance
- Ignoring Settings: Review all settings before starting
- Not Backing Up: Keep copies of important materials
- Rushing Setup: Take time to properly configure everything
Congratulations! You've completed the Guidroo onboarding process. You're now ready to start teaching and making a difference in your students' lives. Remember, our support team is always here to help you succeed!